> ## Documentation Index
> Fetch the complete documentation index at: https://docs.kubestacks.com/llms.txt
> Use this file to discover all available pages before exploring further.
# Create from YAML
> Create one object or several from YAML, starting from a template or pasted, with the cluster checking all of them before any is created.
Create anything the cluster serves from YAML: a quick Deployment to try something, a ConfigMap, or a whole set of objects pasted from a file. Nothing is created until the cluster has checked every one of them.
 ## Open it
* Press ⌘N (CtrlN on Windows and Linux), or choose **File → New from YAML…**
* Choose the **+** button (**Create from YAML**) in the header.
* In the command palette (⌘K), choose **Create from YAML**.
**In your cluster:** browsers keep ⌘N for a new window, so use the **+** button or the command palette.
## Create objects
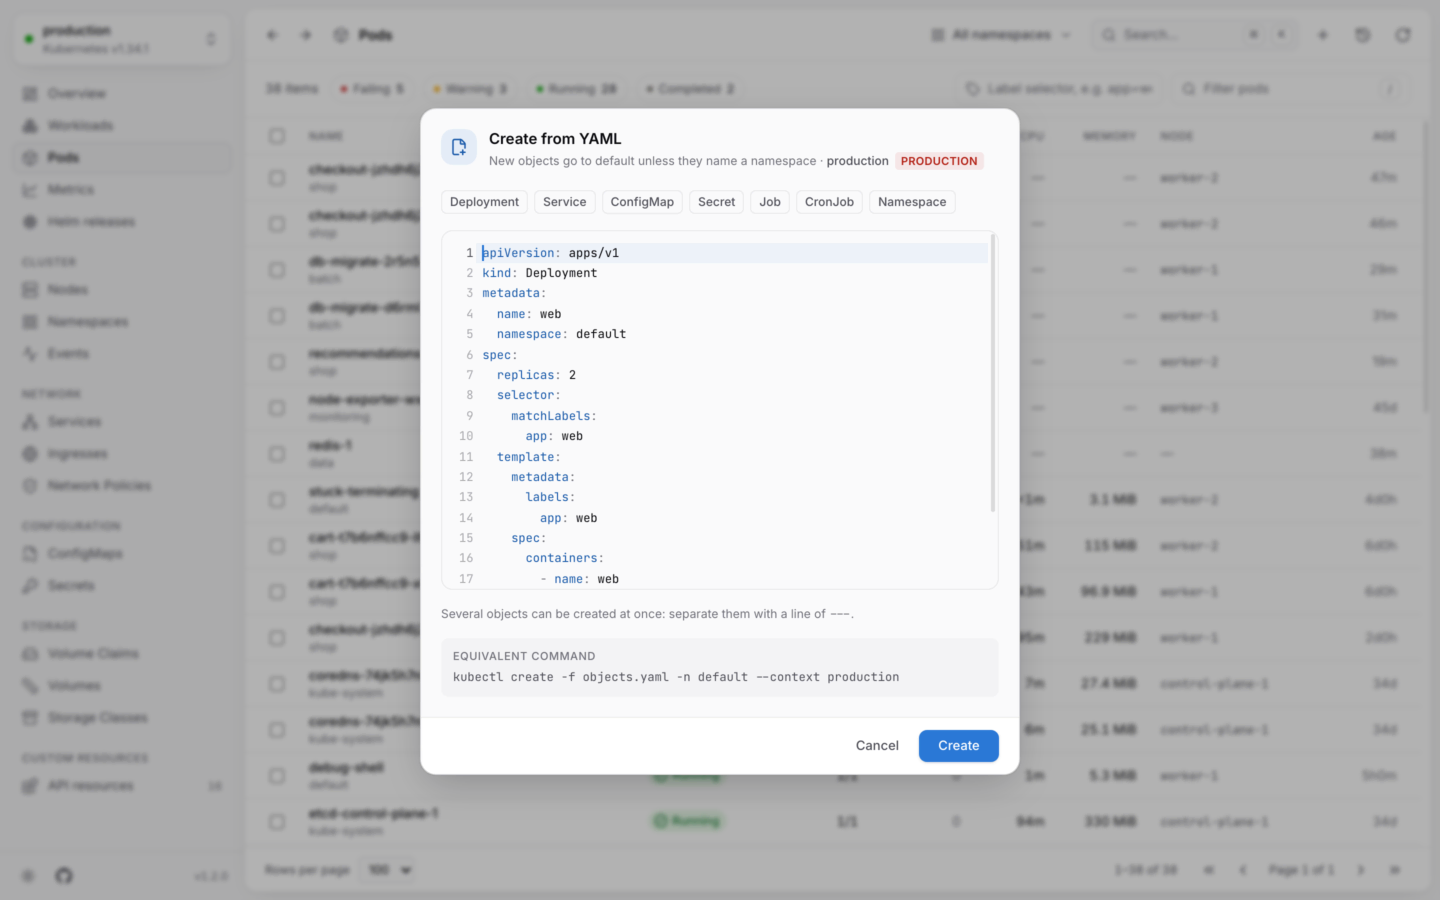
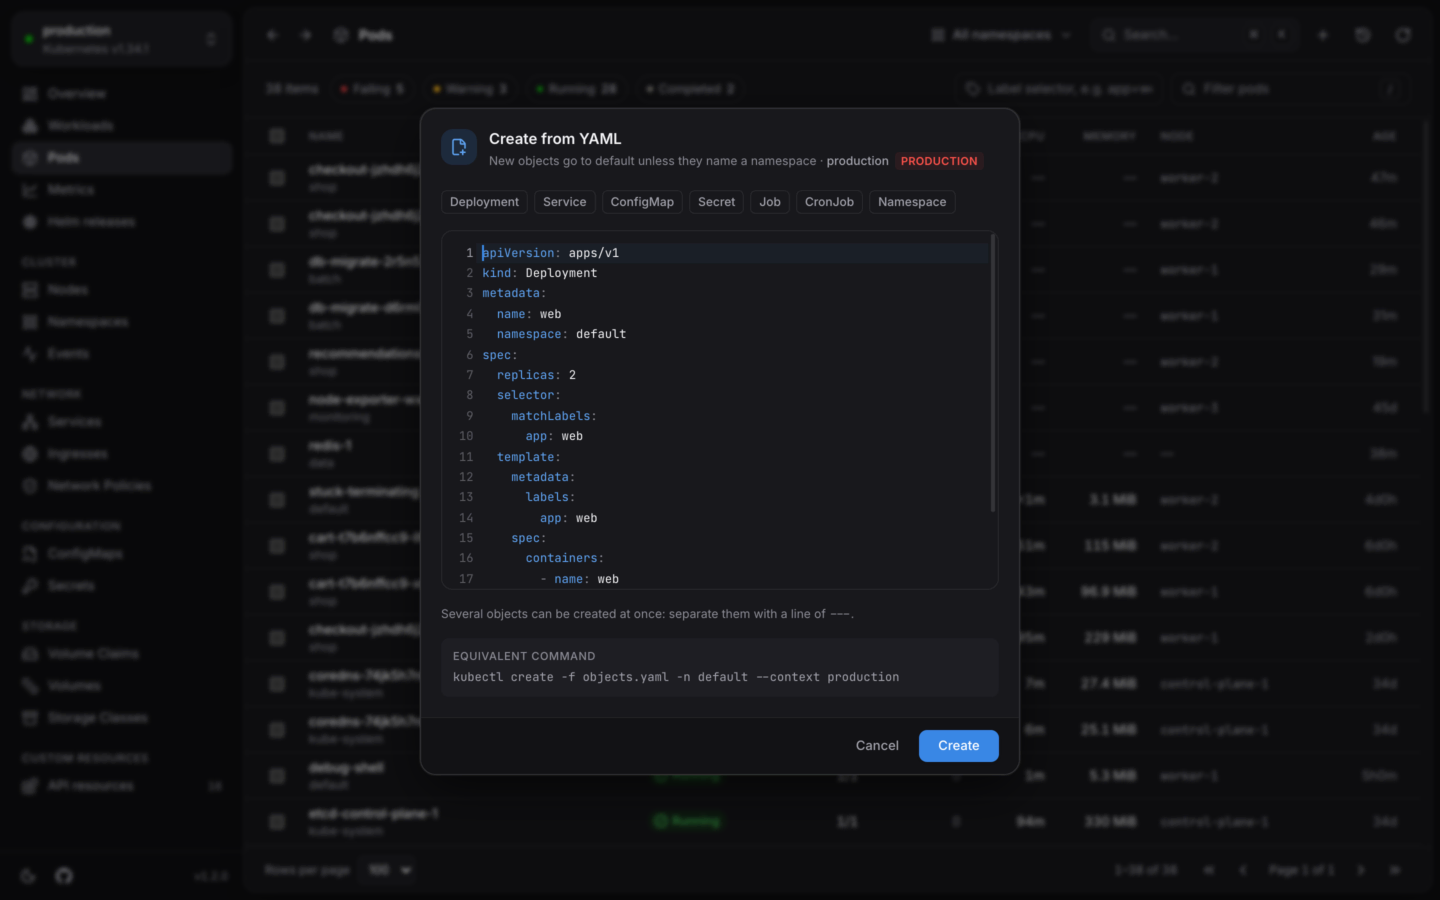
The editor starts with a Deployment. Choose another template to start from it instead, or replace the text with your own YAML.
Separate objects with a line of `---`, as in any multi-document YAML file.
Choose **Create**, or press ⌘S in the editor. KubeStacks checks everything, then creates each object, and shows the result for each one.
When everything is created, a notification confirms it, with an **Open** button that takes you to the first new object.
## Templates
Each template is a small, working starting point. Choosing one replaces what's in the editor.
| Template | What it makes |
| - | - |
| **Deployment** | `web`: two replicas of `nginx:1.27`, on port 80 |
| **Service** | `web`: port 80, to pods labeled `app: web` |
| **ConfigMap** | `settings`, with one key, `LOG_LEVEL` |
| **Secret** | `credentials`, with a `password` written as text under `stringData` |
| **Job** | `hello`: runs `echo hello` in `busybox:1.37` |
| **CronJob** | `hello`: runs `date` in `busybox:1.37` every 15 minutes |
| **Namespace** | `playground` |
The Deployment and Service templates go together: create both, and the service reaches the deployment's pods.
## Namespaces
New objects go to the namespace you picked in the namespace menu, or to `default` when you're looking at all namespaces. An object that names its own namespace in `metadata.namespace` goes there instead. The dialog's header says where new objects go.
## How it's checked
KubeStacks checks your YAML in this order, and stops at the first problem:
Each document must be valid YAML, and say what `kind` it is. There must be something to create.
Each object's kind and `apiVersion` must be one the cluster serves. If a custom resource's CustomResourceDefinition is in the same YAML, create the CRD first, then the resources.
Every object is sent as a dry run (`dryRun=All`). If the cluster refuses any of them, nothing is created, and you see why for each one.
Then the objects are created one by one, in order, with the outcome of each shown.
The equivalent command is `kubectl create -f objects.yaml`, with the namespace and context.
Because everything is checked first, a typo in the fifth object doesn't leave you with the first four created and the rest missing.
## Read-only clusters
In a [read-only](/changes/read-only) cluster, the dialog opens, but says that changes are turned off, and **Create** stays disabled.
Change an existing object, with a dry run and a diff first.
For whole applications, find a chart on Artifact Hub instead.
This documentation is built and hosted on [Mintlify](https://mintlify.com), a developer documentation platform.
## Open it
* Press ⌘N (CtrlN on Windows and Linux), or choose **File → New from YAML…**
* Choose the **+** button (**Create from YAML**) in the header.
* In the command palette (⌘K), choose **Create from YAML**.
**In your cluster:** browsers keep ⌘N for a new window, so use the **+** button or the command palette.
## Create objects
The editor starts with a Deployment. Choose another template to start from it instead, or replace the text with your own YAML.
Separate objects with a line of `---`, as in any multi-document YAML file.
Choose **Create**, or press ⌘S in the editor. KubeStacks checks everything, then creates each object, and shows the result for each one.
When everything is created, a notification confirms it, with an **Open** button that takes you to the first new object.
## Templates
Each template is a small, working starting point. Choosing one replaces what's in the editor.
| Template | What it makes |
| - | - |
| **Deployment** | `web`: two replicas of `nginx:1.27`, on port 80 |
| **Service** | `web`: port 80, to pods labeled `app: web` |
| **ConfigMap** | `settings`, with one key, `LOG_LEVEL` |
| **Secret** | `credentials`, with a `password` written as text under `stringData` |
| **Job** | `hello`: runs `echo hello` in `busybox:1.37` |
| **CronJob** | `hello`: runs `date` in `busybox:1.37` every 15 minutes |
| **Namespace** | `playground` |
The Deployment and Service templates go together: create both, and the service reaches the deployment's pods.
## Namespaces
New objects go to the namespace you picked in the namespace menu, or to `default` when you're looking at all namespaces. An object that names its own namespace in `metadata.namespace` goes there instead. The dialog's header says where new objects go.
## How it's checked
KubeStacks checks your YAML in this order, and stops at the first problem:
Each document must be valid YAML, and say what `kind` it is. There must be something to create.
Each object's kind and `apiVersion` must be one the cluster serves. If a custom resource's CustomResourceDefinition is in the same YAML, create the CRD first, then the resources.
Every object is sent as a dry run (`dryRun=All`). If the cluster refuses any of them, nothing is created, and you see why for each one.
Then the objects are created one by one, in order, with the outcome of each shown.
The equivalent command is `kubectl create -f objects.yaml`, with the namespace and context.
Because everything is checked first, a typo in the fifth object doesn't leave you with the first four created and the rest missing.
## Read-only clusters
In a [read-only](/changes/read-only) cluster, the dialog opens, but says that changes are turned off, and **Create** stays disabled.
Change an existing object, with a dry run and a diff first.
For whole applications, find a chart on Artifact Hub instead.
This documentation is built and hosted on [Mintlify](https://mintlify.com), a developer documentation platform.