> ## Documentation Index
> Fetch the complete documentation index at: https://docs.kubestacks.com/llms.txt
> Use this file to discover all available pages before exploring further.
# Run KubeStacks in your cluster
> Install KubeStacks with one Helm chart, and give your team a dashboard they open in a browser and sign in to with their own permissions.
KubeStacks also runs in a cluster, as a dashboard for that cluster. It's the same app as the desktop one, in a browser: people open its address, sign in, and see and change what their own Kubernetes permissions allow. Nobody installs anything, and a link to any page (a pod, a filtered list, a Helm release) can be shared.
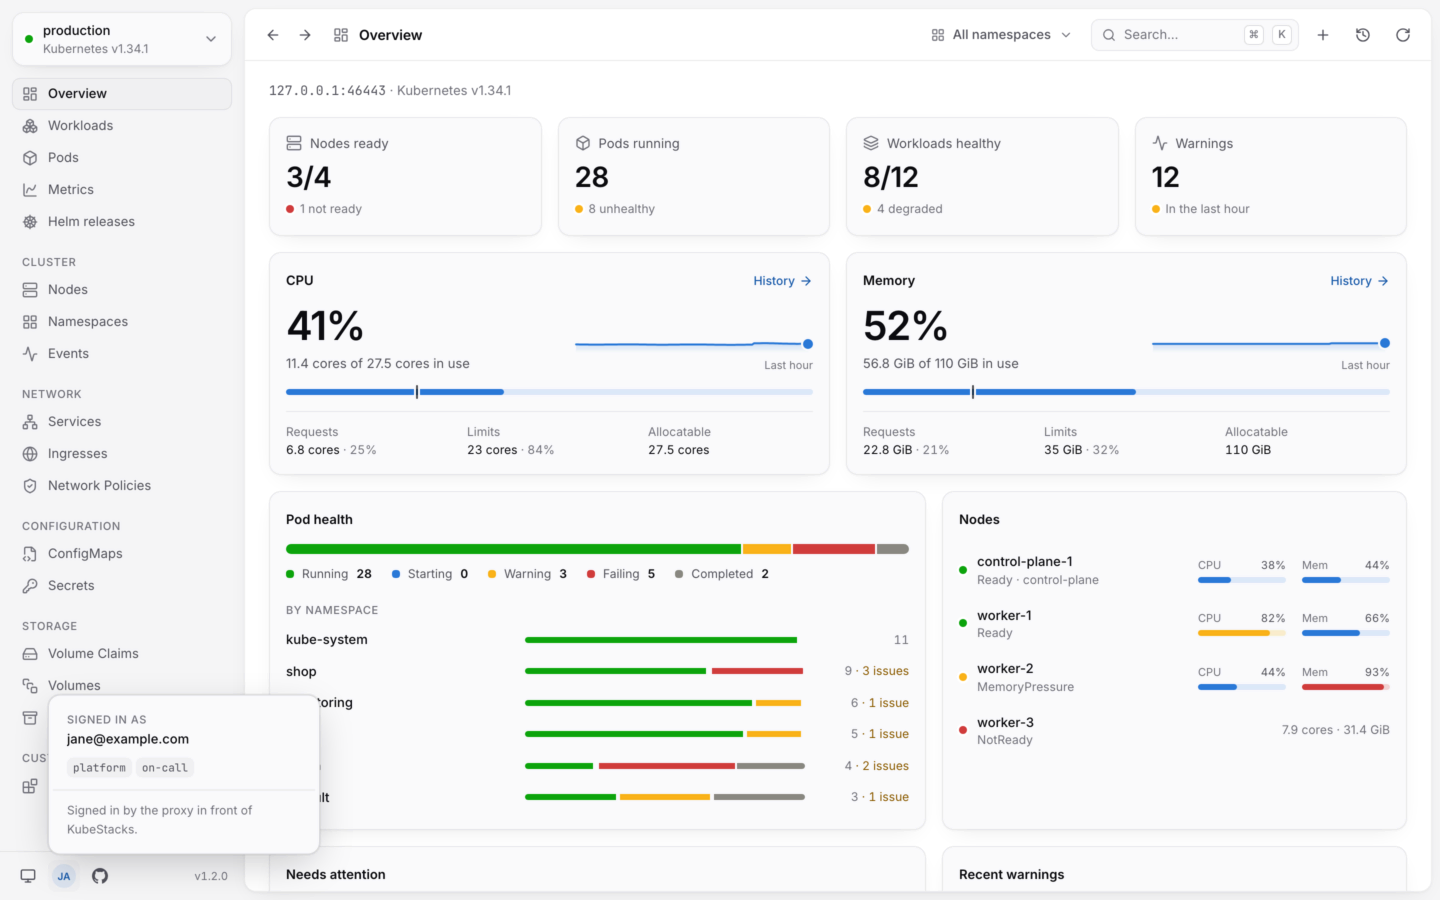
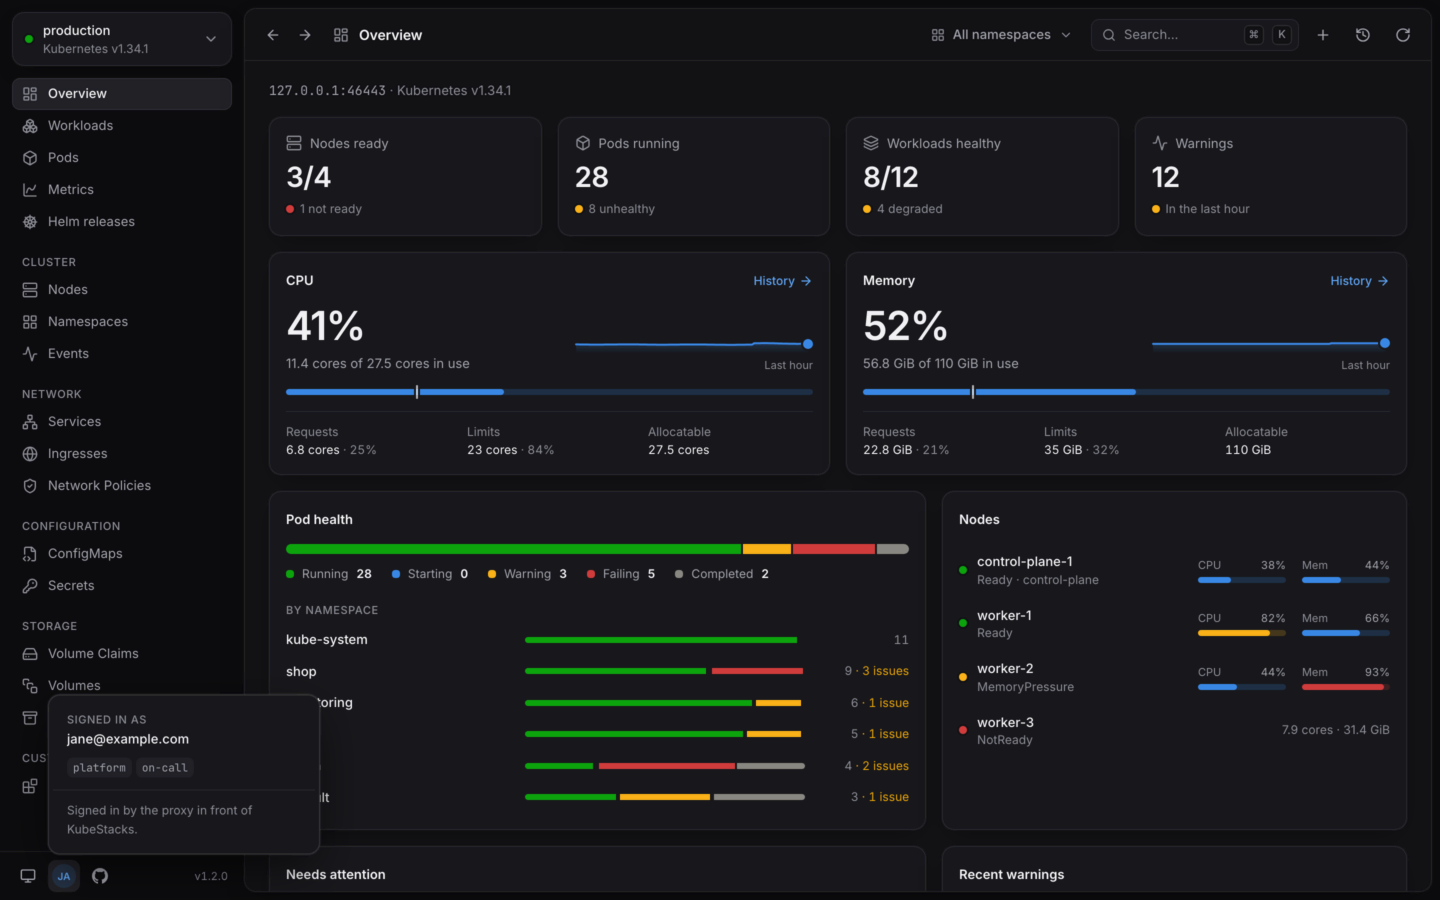 This page gets it running in a few minutes, signed in with a token. When you're ready to share it, give it an address and single sign-on.
## Before you start
* A cluster running **Kubernetes 1.28 or later**, for signing in with a token.
* **[Helm](https://helm.sh)** and **kubectl** on your computer, with access to install into a namespace.
## Try it
```bash theme={"theme":{"light":"github-light","dark":"github-dark-default"}}
helm install kubestacks oci://ghcr.io/kubestacks/charts/kubestacks \
--namespace kubestacks --create-namespace
```
The chart runs one KubeStacks pod. In the default token mode, its service account needs no permissions at all: everyone acts with their own.
Forward a port to it, and open [http://localhost:8080](http://localhost:8080).
```bash theme={"theme":{"light":"github-light","dark":"github-dark-default"}}
kubectl port-forward --namespace kubestacks service/kubestacks 8080:80
```
KubeStacks asks for a bearer token the cluster accepts, and sends your requests with it. For a quick look, make a service account that can view everything, and a token for it that's valid for an hour:
```bash theme={"theme":{"light":"github-light","dark":"github-dark-default"}}
kubectl create serviceaccount alice --namespace kubestacks
kubectl create clusterrolebinding alice-view --clusterrole view \
--serviceaccount kubestacks:alice
kubectl create token alice --namespace kubestacks
```
Paste the token and choose **Sign in**. You're on the cluster's overview, with exactly the access the `view` role gives.
This page gets it running in a few minutes, signed in with a token. When you're ready to share it, give it an address and single sign-on.
## Before you start
* A cluster running **Kubernetes 1.28 or later**, for signing in with a token.
* **[Helm](https://helm.sh)** and **kubectl** on your computer, with access to install into a namespace.
## Try it
```bash theme={"theme":{"light":"github-light","dark":"github-dark-default"}}
helm install kubestacks oci://ghcr.io/kubestacks/charts/kubestacks \
--namespace kubestacks --create-namespace
```
The chart runs one KubeStacks pod. In the default token mode, its service account needs no permissions at all: everyone acts with their own.
Forward a port to it, and open [http://localhost:8080](http://localhost:8080).
```bash theme={"theme":{"light":"github-light","dark":"github-dark-default"}}
kubectl port-forward --namespace kubestacks service/kubestacks 8080:80
```
KubeStacks asks for a bearer token the cluster accepts, and sends your requests with it. For a quick look, make a service account that can view everything, and a token for it that's valid for an hour:
```bash theme={"theme":{"light":"github-light","dark":"github-dark-default"}}
kubectl create serviceaccount alice --namespace kubestacks
kubectl create clusterrolebinding alice-view --clusterrole view \
--serviceaccount kubestacks:alice
kubectl create token alice --namespace kubestacks
```
Paste the token and choose **Sign in**. You're on the cluster's overview, with exactly the access the `view` role gives.
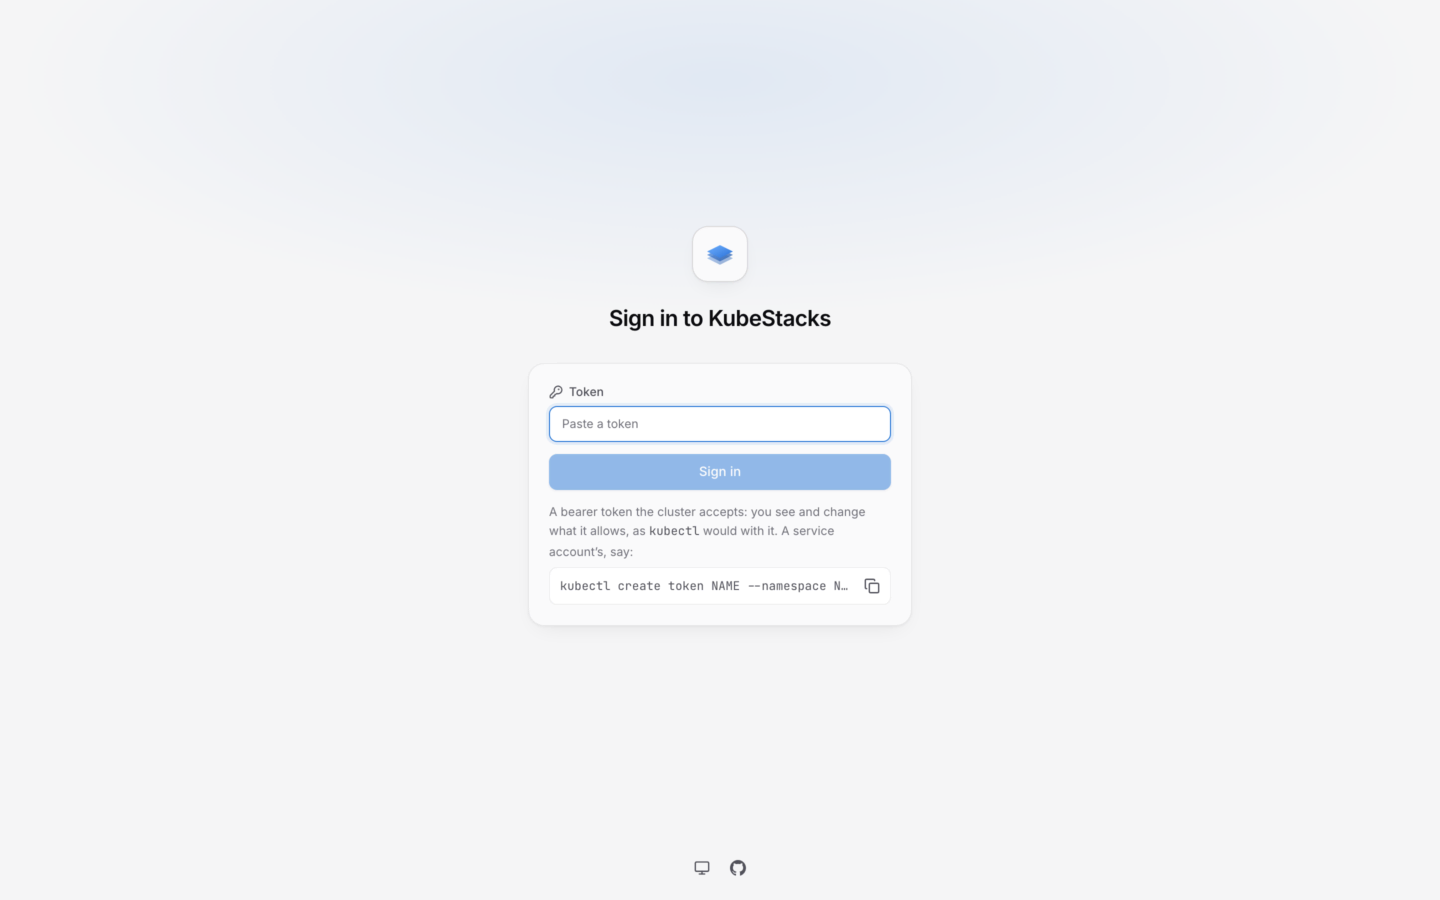
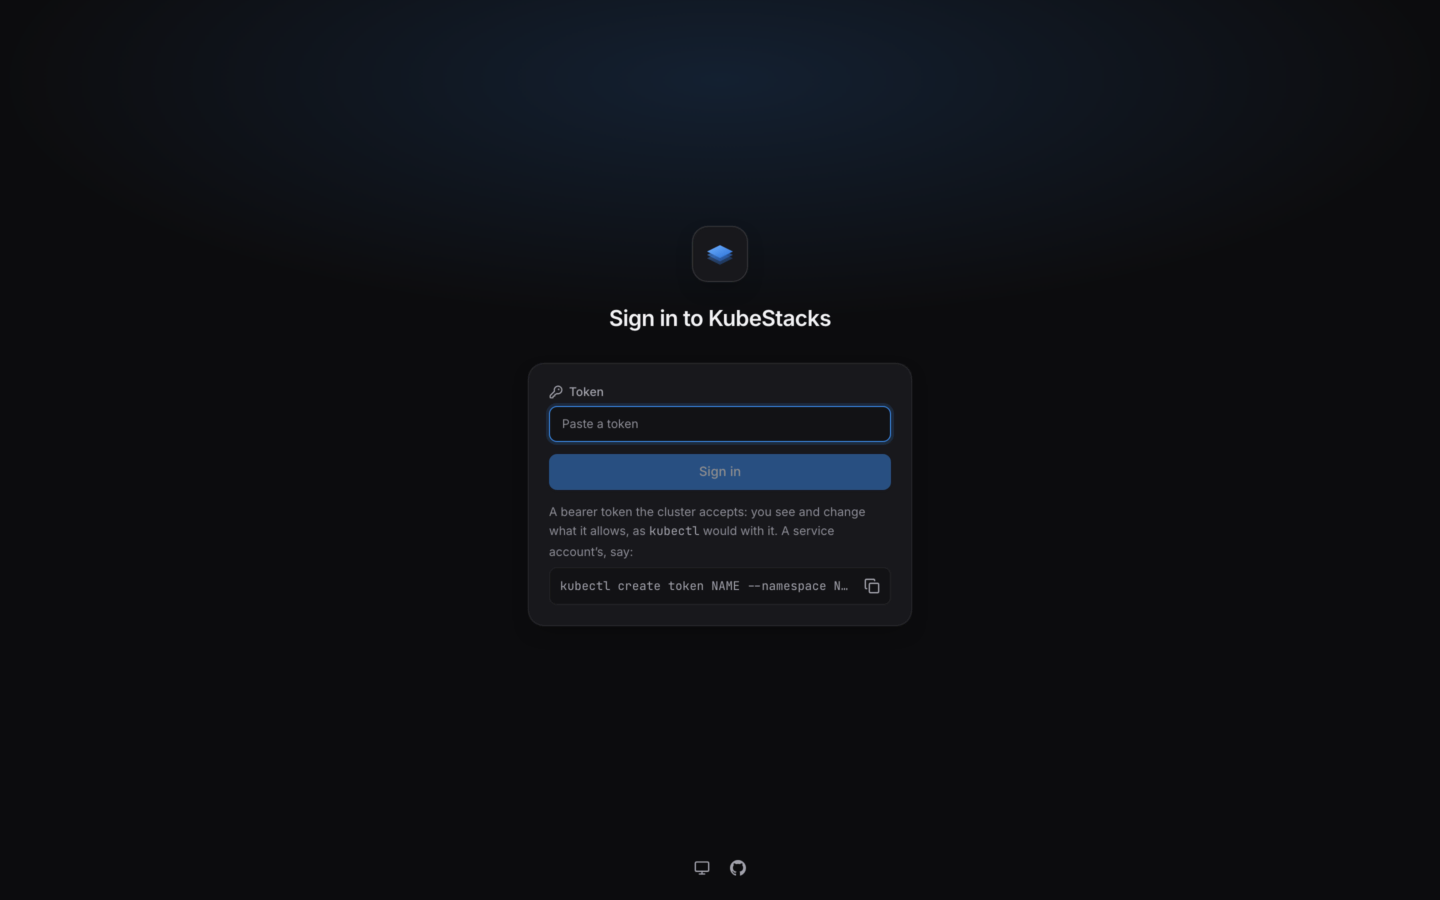 KubeStacks never gives anyone more than their own permissions. Bind a role like `edit` instead of `view`, and the same page offers scaling, restarts and the rest.
## Make it your team's
Turn on the chart's ingress, with TLS, so people open it at a URL of its own.
Sign in with Okta, Entra ID, Google, Keycloak, Dex or any OpenID Connect provider.
Let oauth2-proxy or Pomerium sign people in, and pass on who they are.
What to know about impersonation, sessions and read-only mode.
## How it differs from the desktop app
It's the same app, so nearly everything in these docs applies to both. Served from a cluster:
* **It shows one cluster**, the one it runs in. There's no list of clusters to switch between.
* **There's no port forwarding**, since there's no computer of yours to forward a port to.
* **Charts come from repositories, registries or URLs**, never from files on your computer.
* **Preferences belong to each browser**: the theme, whether you've made the cluster read-only for yourself, and where usage history comes from.
* **A few shortcuts belong to the browser**: ⌘N and ⌘1…6 (Ctrl on Windows and Linux). The command palette (⌘K) has those commands.
[KubeStacks in your cluster](/server/overview) covers how it works, and [Helm values](/server/helm-values) lists every setting.
This documentation is built and hosted on [Mintlify](https://mintlify.com), a developer documentation platform.
KubeStacks never gives anyone more than their own permissions. Bind a role like `edit` instead of `view`, and the same page offers scaling, restarts and the rest.
## Make it your team's
Turn on the chart's ingress, with TLS, so people open it at a URL of its own.
Sign in with Okta, Entra ID, Google, Keycloak, Dex or any OpenID Connect provider.
Let oauth2-proxy or Pomerium sign people in, and pass on who they are.
What to know about impersonation, sessions and read-only mode.
## How it differs from the desktop app
It's the same app, so nearly everything in these docs applies to both. Served from a cluster:
* **It shows one cluster**, the one it runs in. There's no list of clusters to switch between.
* **There's no port forwarding**, since there's no computer of yours to forward a port to.
* **Charts come from repositories, registries or URLs**, never from files on your computer.
* **Preferences belong to each browser**: the theme, whether you've made the cluster read-only for yourself, and where usage history comes from.
* **A few shortcuts belong to the browser**: ⌘N and ⌘1…6 (Ctrl on Windows and Linux). The command palette (⌘K) has those commands.
[KubeStacks in your cluster](/server/overview) covers how it works, and [Helm values](/server/helm-values) lists every setting.
This documentation is built and hosted on [Mintlify](https://mintlify.com), a developer documentation platform.