> ## Documentation Index
> Fetch the complete documentation index at: https://docs.kubestacks.com/llms.txt
> Use this file to discover all available pages before exploring further.
# Sign in with single sign-on
> Let people sign in with your OpenID Connect provider, such as Dex, Keycloak, Okta, Entra ID, Google or GitLab, so their own RBAC applies.
With single sign-on, people sign in with your OpenID Connect provider, and KubeStacks acts as them in the cluster. It does that in one of two ways:
* **It impersonates them** (the default). Its service account sends their user name and groups in impersonation headers, and the API server applies their RBAC. This works with any cluster.
* **It passes their own token on**, when the API server already trusts your provider. Its service account then needs no permissions, and the cluster's audit log names each person directly. See [When the API server trusts the provider](#when-the-api-server-trusts-the-provider).
 ## Set it up
You need KubeStacks at an address of its own (see [Give KubeStacks an address](/server/expose)): the provider sends people back there after they sign in.
Add KubeStacks as a web application (an OpenID Connect client using the authorization code flow), with this redirect URI:
```text theme={"theme":{"light":"github-light","dark":"github-dark-default"}}
https://kubestacks.example.com/auth/callback
```
That's your `url`, then `auth/callback` below `basePath`. Note the client ID and, if the provider gives one, the client secret. KubeStacks uses PKCE, so a public client without a secret works too.
Make sure the ID token carries the person's email address and their groups. Many providers include groups only when asked: with a `groups` scope, or a setting on the client.
Put the secret in a Secret, under the key `client-secret`, in KubeStacks' namespace:
```bash theme={"theme":{"light":"github-light","dark":"github-dark-default"}}
kubectl create secret generic kubestacks-oidc --namespace kubestacks \
--from-literal client-secret=''
```
Or set `auth.oidc.clientSecret`, and the chart makes that Secret for you. Leave both empty for a public client.
```yaml values.yaml theme={"theme":{"light":"github-light","dark":"github-dark-default"}}
url: https://kubestacks.example.com
auth:
mode: oidc
oidc:
issuer: https://dex.example.com
clientId: kubestacks
existingSecret: kubestacks-oidc # a Secret with the client's secret under client-secret
scopes: openid email profile groups
providerName: Dex # the button says "Sign in with Dex"
# Like the API server's --oidc-username-prefix and --oidc-groups-prefix.
usernamePrefix: 'oidc:'
groupsPrefix: 'oidc:'
```
`issuer` is the provider's issuer URL, where `/.well-known/openid-configuration` is. Then upgrade the chart with these values.
People are named by the ID token's `email` claim, and their groups come from its `groups` claim. Bind roles to those names, with the prefixes you chose:
```yaml A group theme={"theme":{"light":"github-light","dark":"github-dark-default"}}
apiVersion: rbac.authorization.k8s.io/v1
kind: ClusterRoleBinding
metadata:
name: platform-team
roleRef: { apiGroup: rbac.authorization.k8s.io, kind: ClusterRole, name: edit }
subjects:
- { apiGroup: rbac.authorization.k8s.io, kind: Group, name: 'oidc:platform' }
```
```yaml One person, in one namespace theme={"theme":{"light":"github-light","dark":"github-dark-default"}}
apiVersion: rbac.authorization.k8s.io/v1
kind: RoleBinding
metadata:
name: alice-edit
namespace: shop
roleRef: { apiGroup: rbac.authorization.k8s.io, kind: ClusterRole, name: edit }
subjects:
- { apiGroup: rbac.authorization.k8s.io, kind: User, name: 'oidc:alice@example.com' }
```
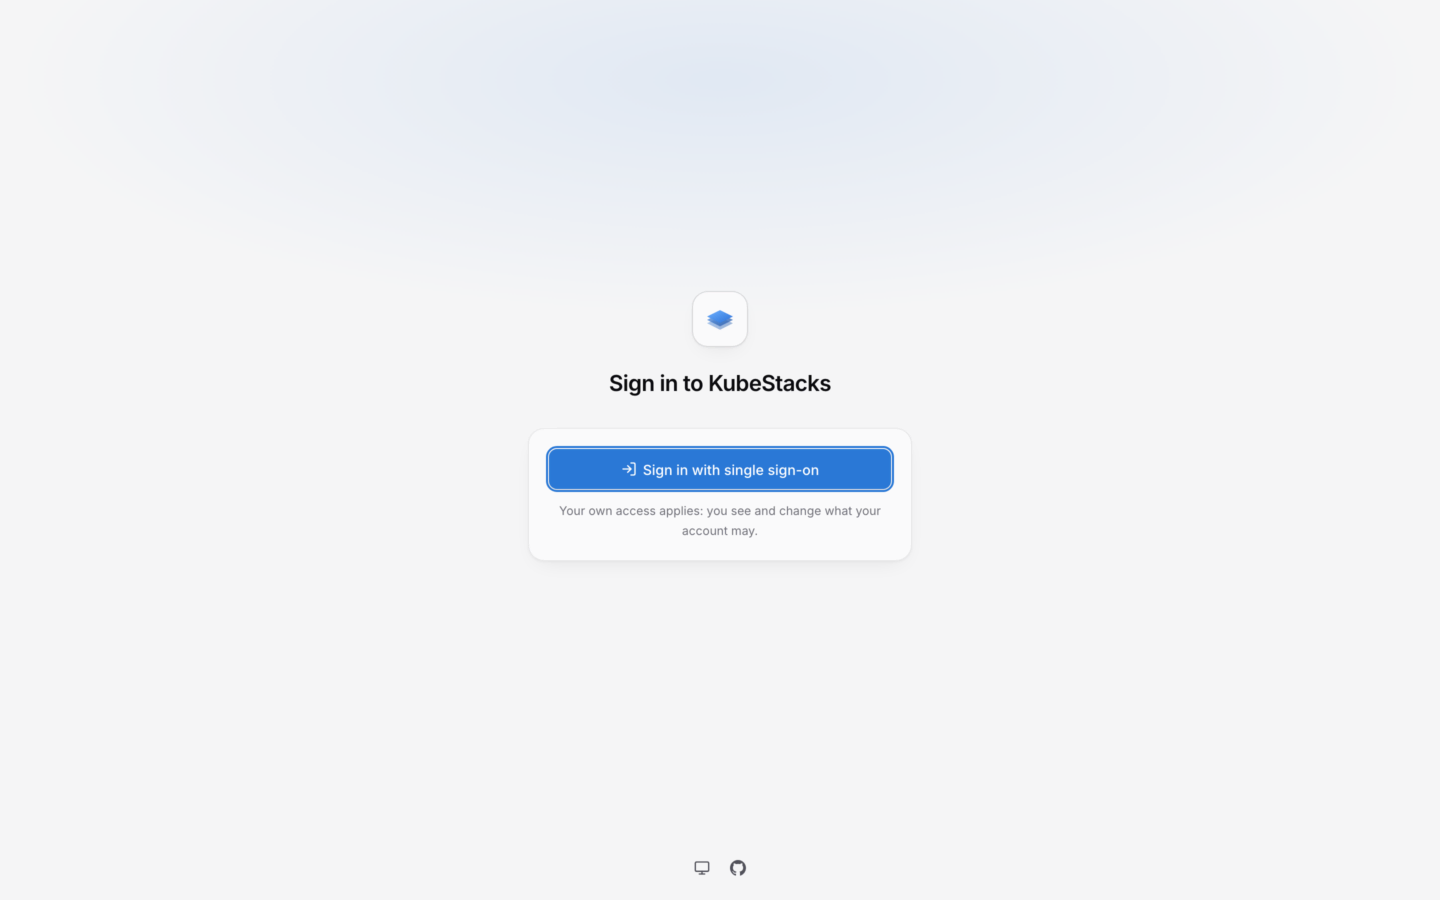
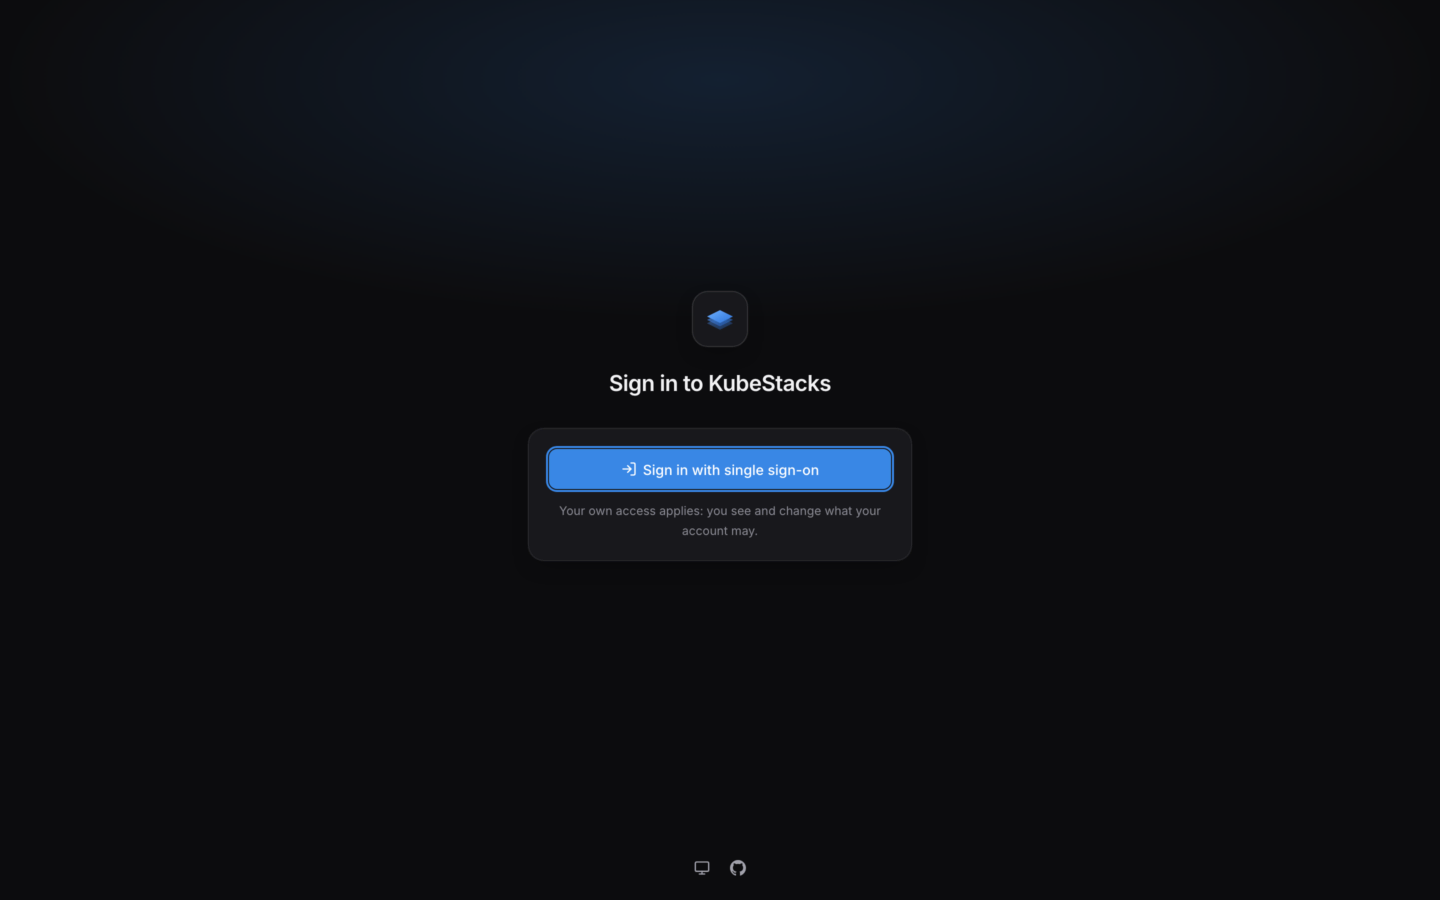
Open KubeStacks and choose **Sign in with Dex** (or your provider's name). After signing in at the provider, you're back where you started, seeing what your own access allows.
## Who people are
| Setting | Default | What it does |
| - | - | - |
| `auth.oidc.usernameClaim` | `email` | The ID token claim that names people |
| `auth.oidc.groupsClaim` | `groups` | The ID token claim that lists their groups |
| `auth.usernamePrefix` | none | Put before user names: `oidc:` makes `alice@example.com` `oidc:alice@example.com` |
| `auth.groupsPrefix` | none | Put before group names |
Prefixes keep your provider's names apart from the cluster's own. Without one, a provider group with the same name as one of your groups would get its permissions.
KubeStacks never acts as one of Kubernetes' own users or groups (`system:…`), whatever the provider says. It leaves out groups whose names start with `system:`, and refuses a user whose name does, with **KubeStacks won't act as this account: names starting with system: are Kubernetes' own.**
## Impersonation
When KubeStacks impersonates people, the chart gives its service account permission to impersonate users and groups, cluster-wide: a ClusterRole with `impersonate` on `users` and `groups`, bound to it. That's a powerful permission. Read [Security](/server/security#impersonation) before you turn this on, and keep KubeStacks in a namespace only cluster administrators can exec into.
If you'd rather manage that RBAC yourself, set `rbac.create: false` and bind the service account an equivalent role.
## When the API server trusts the provider
If the API server already accepts your provider's tokens (through its `--oidc-*` flags, a structured authentication configuration, or a managed equivalent such as [EKS's OIDC identity providers](https://docs.aws.amazon.com/eks/latest/userguide/authenticate-oidc-identity-provider.html)), KubeStacks can pass each person's own token on instead of impersonating them.
```yaml values.yaml theme={"theme":{"light":"github-light","dark":"github-dark-default"}}
url: https://kubestacks.example.com
auth:
mode: oidc
oidc:
issuer: https://dex.example.com
clientId: kubestacks
existingSecret: kubestacks-oidc
forwardToken: id # or access, for a provider whose access tokens the cluster takes
scopes: openid email profile groups offline_access
```
* **No impersonation.** KubeStacks' service account needs no permissions, and the chart gives it none.
* **Names come from the API server.** The token is a JWT the cluster checks itself, so names, groups and prefixes come from the API server's own settings, not KubeStacks'. Bind roles to the names the cluster sees.
* **Tokens are renewed.** KubeStacks renews each person's token a minute before it expires, with the refresh token the provider gives it. Most providers give one only when `offline_access` is among the scopes. Without one, the session ends when the cluster stops accepting the token, and people sign in again.
* **The audit log names people directly**, instead of KubeStacks' service account acting as them.
## When signing in doesn't work
The sign-in page says what happened. The details go to KubeStacks' log (`kubectl logs --namespace kubestacks deployment/kubestacks`).
| The page says | What happened |
| - | - |
| **Signing in was cancelled, or the provider said no.** | The person cancelled, or the provider refused them. |
| **That sign-in took too long, or started in another browser. Try again.** | Signing in has to finish within 10 minutes, in the browser that started it. |
| **Signing in didn't work. The KubeStacks server's log says why.** | The provider couldn't be reached, the ID token didn't check out, or it has no claim to name the person by. |
| **KubeStacks won't act as this account: names starting with system: are Kubernetes' own.** | The user's name, with its prefix, starts with `system:`. |
What impersonation means, and how to keep KubeStacks contained.
Every sign-in setting.
This documentation is built and hosted on [Mintlify](https://mintlify.com), a developer documentation platform.
## Set it up
You need KubeStacks at an address of its own (see [Give KubeStacks an address](/server/expose)): the provider sends people back there after they sign in.
Add KubeStacks as a web application (an OpenID Connect client using the authorization code flow), with this redirect URI:
```text theme={"theme":{"light":"github-light","dark":"github-dark-default"}}
https://kubestacks.example.com/auth/callback
```
That's your `url`, then `auth/callback` below `basePath`. Note the client ID and, if the provider gives one, the client secret. KubeStacks uses PKCE, so a public client without a secret works too.
Make sure the ID token carries the person's email address and their groups. Many providers include groups only when asked: with a `groups` scope, or a setting on the client.
Put the secret in a Secret, under the key `client-secret`, in KubeStacks' namespace:
```bash theme={"theme":{"light":"github-light","dark":"github-dark-default"}}
kubectl create secret generic kubestacks-oidc --namespace kubestacks \
--from-literal client-secret=''
```
Or set `auth.oidc.clientSecret`, and the chart makes that Secret for you. Leave both empty for a public client.
```yaml values.yaml theme={"theme":{"light":"github-light","dark":"github-dark-default"}}
url: https://kubestacks.example.com
auth:
mode: oidc
oidc:
issuer: https://dex.example.com
clientId: kubestacks
existingSecret: kubestacks-oidc # a Secret with the client's secret under client-secret
scopes: openid email profile groups
providerName: Dex # the button says "Sign in with Dex"
# Like the API server's --oidc-username-prefix and --oidc-groups-prefix.
usernamePrefix: 'oidc:'
groupsPrefix: 'oidc:'
```
`issuer` is the provider's issuer URL, where `/.well-known/openid-configuration` is. Then upgrade the chart with these values.
People are named by the ID token's `email` claim, and their groups come from its `groups` claim. Bind roles to those names, with the prefixes you chose:
```yaml A group theme={"theme":{"light":"github-light","dark":"github-dark-default"}}
apiVersion: rbac.authorization.k8s.io/v1
kind: ClusterRoleBinding
metadata:
name: platform-team
roleRef: { apiGroup: rbac.authorization.k8s.io, kind: ClusterRole, name: edit }
subjects:
- { apiGroup: rbac.authorization.k8s.io, kind: Group, name: 'oidc:platform' }
```
```yaml One person, in one namespace theme={"theme":{"light":"github-light","dark":"github-dark-default"}}
apiVersion: rbac.authorization.k8s.io/v1
kind: RoleBinding
metadata:
name: alice-edit
namespace: shop
roleRef: { apiGroup: rbac.authorization.k8s.io, kind: ClusterRole, name: edit }
subjects:
- { apiGroup: rbac.authorization.k8s.io, kind: User, name: 'oidc:alice@example.com' }
```
Open KubeStacks and choose **Sign in with Dex** (or your provider's name). After signing in at the provider, you're back where you started, seeing what your own access allows.
## Who people are
| Setting | Default | What it does |
| - | - | - |
| `auth.oidc.usernameClaim` | `email` | The ID token claim that names people |
| `auth.oidc.groupsClaim` | `groups` | The ID token claim that lists their groups |
| `auth.usernamePrefix` | none | Put before user names: `oidc:` makes `alice@example.com` `oidc:alice@example.com` |
| `auth.groupsPrefix` | none | Put before group names |
Prefixes keep your provider's names apart from the cluster's own. Without one, a provider group with the same name as one of your groups would get its permissions.
KubeStacks never acts as one of Kubernetes' own users or groups (`system:…`), whatever the provider says. It leaves out groups whose names start with `system:`, and refuses a user whose name does, with **KubeStacks won't act as this account: names starting with system: are Kubernetes' own.**
## Impersonation
When KubeStacks impersonates people, the chart gives its service account permission to impersonate users and groups, cluster-wide: a ClusterRole with `impersonate` on `users` and `groups`, bound to it. That's a powerful permission. Read [Security](/server/security#impersonation) before you turn this on, and keep KubeStacks in a namespace only cluster administrators can exec into.
If you'd rather manage that RBAC yourself, set `rbac.create: false` and bind the service account an equivalent role.
## When the API server trusts the provider
If the API server already accepts your provider's tokens (through its `--oidc-*` flags, a structured authentication configuration, or a managed equivalent such as [EKS's OIDC identity providers](https://docs.aws.amazon.com/eks/latest/userguide/authenticate-oidc-identity-provider.html)), KubeStacks can pass each person's own token on instead of impersonating them.
```yaml values.yaml theme={"theme":{"light":"github-light","dark":"github-dark-default"}}
url: https://kubestacks.example.com
auth:
mode: oidc
oidc:
issuer: https://dex.example.com
clientId: kubestacks
existingSecret: kubestacks-oidc
forwardToken: id # or access, for a provider whose access tokens the cluster takes
scopes: openid email profile groups offline_access
```
* **No impersonation.** KubeStacks' service account needs no permissions, and the chart gives it none.
* **Names come from the API server.** The token is a JWT the cluster checks itself, so names, groups and prefixes come from the API server's own settings, not KubeStacks'. Bind roles to the names the cluster sees.
* **Tokens are renewed.** KubeStacks renews each person's token a minute before it expires, with the refresh token the provider gives it. Most providers give one only when `offline_access` is among the scopes. Without one, the session ends when the cluster stops accepting the token, and people sign in again.
* **The audit log names people directly**, instead of KubeStacks' service account acting as them.
## When signing in doesn't work
The sign-in page says what happened. The details go to KubeStacks' log (`kubectl logs --namespace kubestacks deployment/kubestacks`).
| The page says | What happened |
| - | - |
| **Signing in was cancelled, or the provider said no.** | The person cancelled, or the provider refused them. |
| **That sign-in took too long, or started in another browser. Try again.** | Signing in has to finish within 10 minutes, in the browser that started it. |
| **Signing in didn't work. The KubeStacks server's log says why.** | The provider couldn't be reached, the ID token didn't check out, or it has no claim to name the person by. |
| **KubeStacks won't act as this account: names starting with system: are Kubernetes' own.** | The user's name, with its prefix, starts with `system:`. |
What impersonation means, and how to keep KubeStacks contained.
Every sign-in setting.
This documentation is built and hosted on [Mintlify](https://mintlify.com), a developer documentation platform.