> ## Documentation Index
> Fetch the complete documentation index at: https://docs.kubestacks.com/llms.txt
> Use this file to discover all available pages before exploring further.
# Install KubeStacks in your cluster
> Install KubeStacks with its Helm chart, open it, and sign in with a token, in a few minutes.
You need [Helm](https://helm.sh) and `kubectl` on your computer, and an account that can create namespaces, service accounts and role bindings. The cluster needs Kubernetes 1.25 or later, and 1.28 or later to sign in with tokens, as below.
## Try it in five minutes
```bash theme={"theme":{"light":"github-light","dark":"github-dark-default"}}
helm install kubestacks oci://ghcr.io/kubestacks/charts/kubestacks \
--namespace kubestacks --create-namespace
```
This creates a deployment with one KubeStacks pod, a `kubestacks` Service on port 80, and a service account. With the default sign-in (tokens), that service account needs no permissions, and the chart gives it none.
Forward a port from your computer to the Service:
```bash theme={"theme":{"light":"github-light","dark":"github-dark-default"}}
kubectl port-forward --namespace kubestacks service/kubestacks 8080:80
```
Then open [http://localhost:8080](http://localhost:8080). The chart's notes, printed after `helm install`, say the same for your settings.
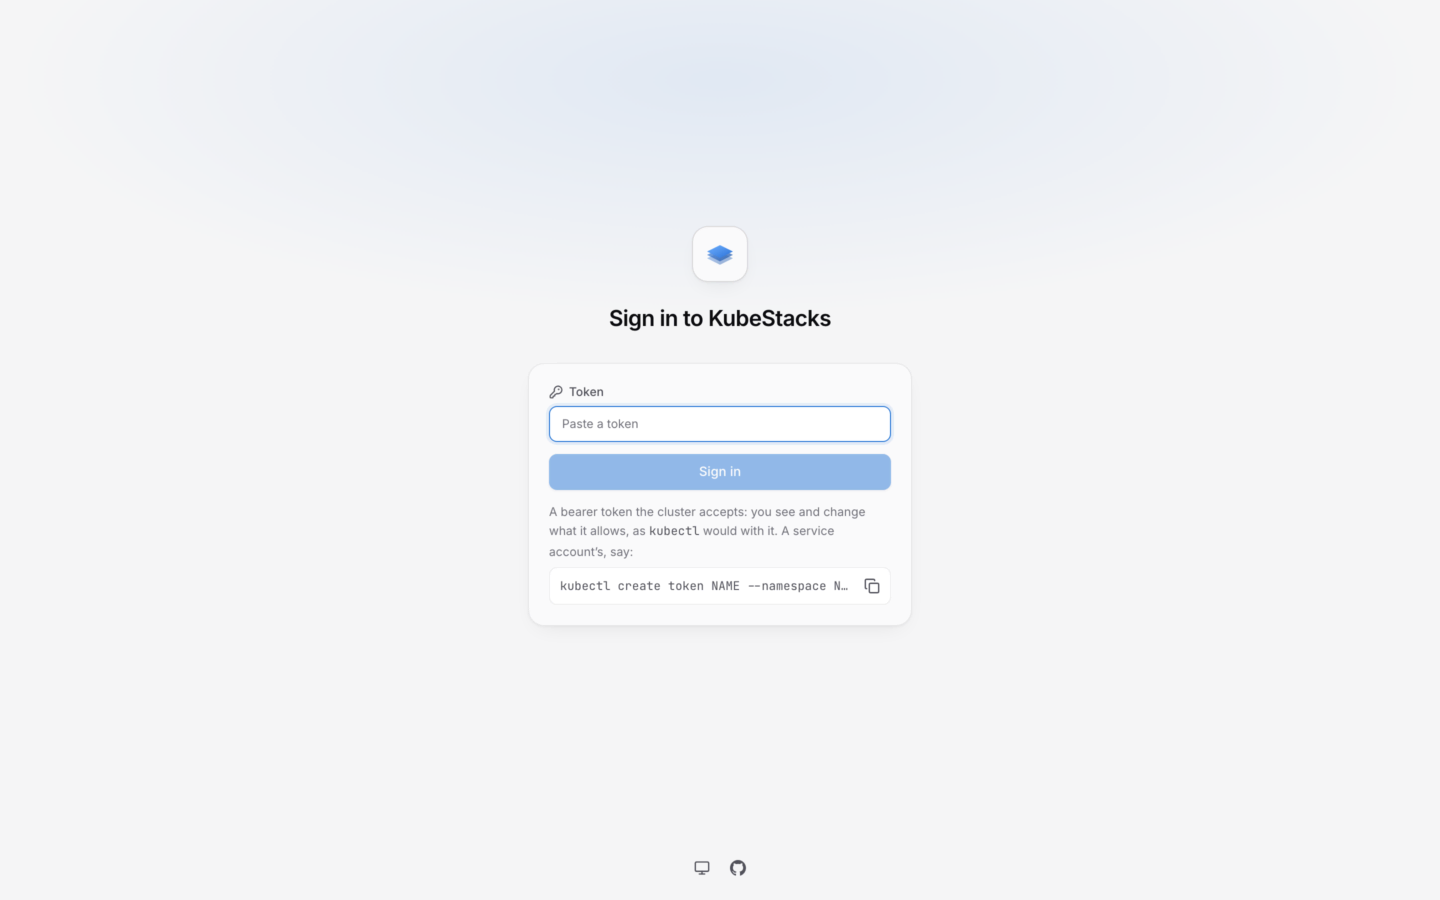
Any bearer token the cluster accepts works. To try it, make a service account that can view everything, and a token for it:
```bash theme={"theme":{"light":"github-light","dark":"github-dark-default"}}
kubectl create serviceaccount alice --namespace kubestacks
kubectl create clusterrolebinding alice-view --clusterrole view \
--serviceaccount kubestacks:alice
kubectl create token alice --namespace kubestacks
```
The token is valid for an hour. `kubectl create token` takes `--duration` for a longer one, up to what your API server allows.
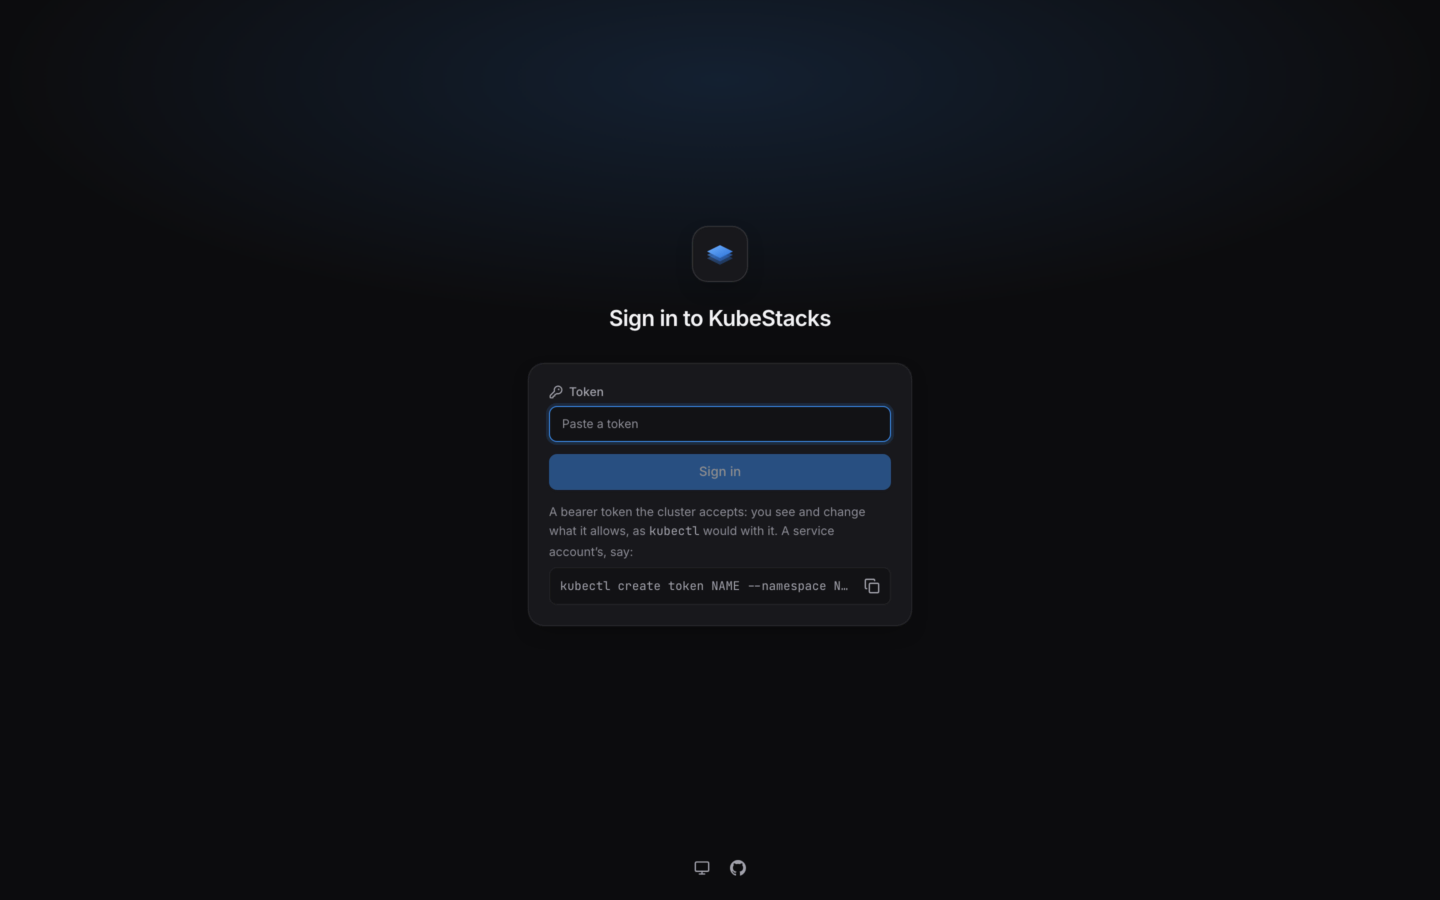
Paste the token into **Token** and choose **Sign in**. KubeStacks asks the cluster whose token it is, and opens the cluster's overview. You see what the `view` role allows: most objects, but not Secrets, and nothing you can change.
 For people to make changes, bind them a role that allows them, like `edit`, or `admin` in their own namespaces. KubeStacks asks the cluster what each person may do, and turns off what they can't, saying why. See [Permissions](/clusters/permissions).
## Keep your settings in a values file
For anything past a first try, keep the chart's settings in a file, and install or upgrade from it. Every setting is in [Helm values](/server/helm-values).
```yaml values.yaml theme={"theme":{"light":"github-light","dark":"github-dark-default"}}
# What KubeStacks calls the cluster, in its pages and their titles.
clusterName: production
# The address people open it at.
url: https://kubestacks.example.com
ingress:
enabled: true
className: nginx
hosts: [kubestacks.example.com]
tls:
- secretName: kubestacks-tls
hosts: [kubestacks.example.com]
annotations:
# Pages keep a WebSocket open: don't let the ingress close it after a minute.
nginx.ingress.kubernetes.io/proxy-read-timeout: '3600'
nginx.ingress.kubernetes.io/proxy-send-timeout: '3600'
```
```bash Install or upgrade theme={"theme":{"light":"github-light","dark":"github-dark-default"}}
helm upgrade --install kubestacks oci://ghcr.io/kubestacks/charts/kubestacks \
--namespace kubestacks --create-namespace \
--values values.yaml
```
The chart's version is the app's, so `--version 1.2.0` installs KubeStacks 1.2.0. Without it, Helm installs the latest.
## Check that it's running
KubeStacks writes a line to its log when it starts, saying which cluster it shows, where, and how people sign in:
```bash theme={"theme":{"light":"github-light","dark":"github-dark-default"}}
kubectl logs --namespace kubestacks deployment/kubestacks
```
```text theme={"theme":{"light":"github-light","dark":"github-dark-default"}}
2026-10-02T10:52:14.120Z KubeStacks 1.2.0 shows production (https://10.96.0.1:443) at http://localhost:8080/; people sign in with a token
```
After that, the log records who signs in and out, and what failed. A setting that doesn't make sense stops KubeStacks before it starts, and the log says which one and why, like:
```text theme={"theme":{"light":"github-light","dark":"github-dark-default"}}
KUBESTACKS_URL must be set for single sign-on: the provider sends people back there.
```
The chart checks the same things where it can, so `helm install` fails first with the same advice.
## Verify the image
Each release of the image is signed with a build provenance attestation. With the [GitHub CLI](https://cli.github.com):
```bash theme={"theme":{"light":"github-light","dark":"github-dark-default"}}
gh attestation verify oci://ghcr.io/kubestacks/kubestacks:1.2.0 --repo KubeStacks/KubeStacks
```
## Next steps
An ingress with TLS, at its own host or below a path.
Tokens, single sign-on, or an authenticating proxy.
This documentation is built and hosted on [Mintlify](https://mintlify.com), a developer documentation platform.
For people to make changes, bind them a role that allows them, like `edit`, or `admin` in their own namespaces. KubeStacks asks the cluster what each person may do, and turns off what they can't, saying why. See [Permissions](/clusters/permissions).
## Keep your settings in a values file
For anything past a first try, keep the chart's settings in a file, and install or upgrade from it. Every setting is in [Helm values](/server/helm-values).
```yaml values.yaml theme={"theme":{"light":"github-light","dark":"github-dark-default"}}
# What KubeStacks calls the cluster, in its pages and their titles.
clusterName: production
# The address people open it at.
url: https://kubestacks.example.com
ingress:
enabled: true
className: nginx
hosts: [kubestacks.example.com]
tls:
- secretName: kubestacks-tls
hosts: [kubestacks.example.com]
annotations:
# Pages keep a WebSocket open: don't let the ingress close it after a minute.
nginx.ingress.kubernetes.io/proxy-read-timeout: '3600'
nginx.ingress.kubernetes.io/proxy-send-timeout: '3600'
```
```bash Install or upgrade theme={"theme":{"light":"github-light","dark":"github-dark-default"}}
helm upgrade --install kubestacks oci://ghcr.io/kubestacks/charts/kubestacks \
--namespace kubestacks --create-namespace \
--values values.yaml
```
The chart's version is the app's, so `--version 1.2.0` installs KubeStacks 1.2.0. Without it, Helm installs the latest.
## Check that it's running
KubeStacks writes a line to its log when it starts, saying which cluster it shows, where, and how people sign in:
```bash theme={"theme":{"light":"github-light","dark":"github-dark-default"}}
kubectl logs --namespace kubestacks deployment/kubestacks
```
```text theme={"theme":{"light":"github-light","dark":"github-dark-default"}}
2026-10-02T10:52:14.120Z KubeStacks 1.2.0 shows production (https://10.96.0.1:443) at http://localhost:8080/; people sign in with a token
```
After that, the log records who signs in and out, and what failed. A setting that doesn't make sense stops KubeStacks before it starts, and the log says which one and why, like:
```text theme={"theme":{"light":"github-light","dark":"github-dark-default"}}
KUBESTACKS_URL must be set for single sign-on: the provider sends people back there.
```
The chart checks the same things where it can, so `helm install` fails first with the same advice.
## Verify the image
Each release of the image is signed with a build provenance attestation. With the [GitHub CLI](https://cli.github.com):
```bash theme={"theme":{"light":"github-light","dark":"github-dark-default"}}
gh attestation verify oci://ghcr.io/kubestacks/kubestacks:1.2.0 --repo KubeStacks/KubeStacks
```
## Next steps
An ingress with TLS, at its own host or below a path.
Tokens, single sign-on, or an authenticating proxy.
This documentation is built and hosted on [Mintlify](https://mintlify.com), a developer documentation platform.