

- It impersonates them (the default). Its service account sends their user name and groups in impersonation headers, and the API server applies their RBAC. This works with any cluster.
- It passes their own token on, when the API server already trusts your provider. Its service account then needs no permissions, and the cluster’s audit log names each person directly. See When the API server trusts the provider.
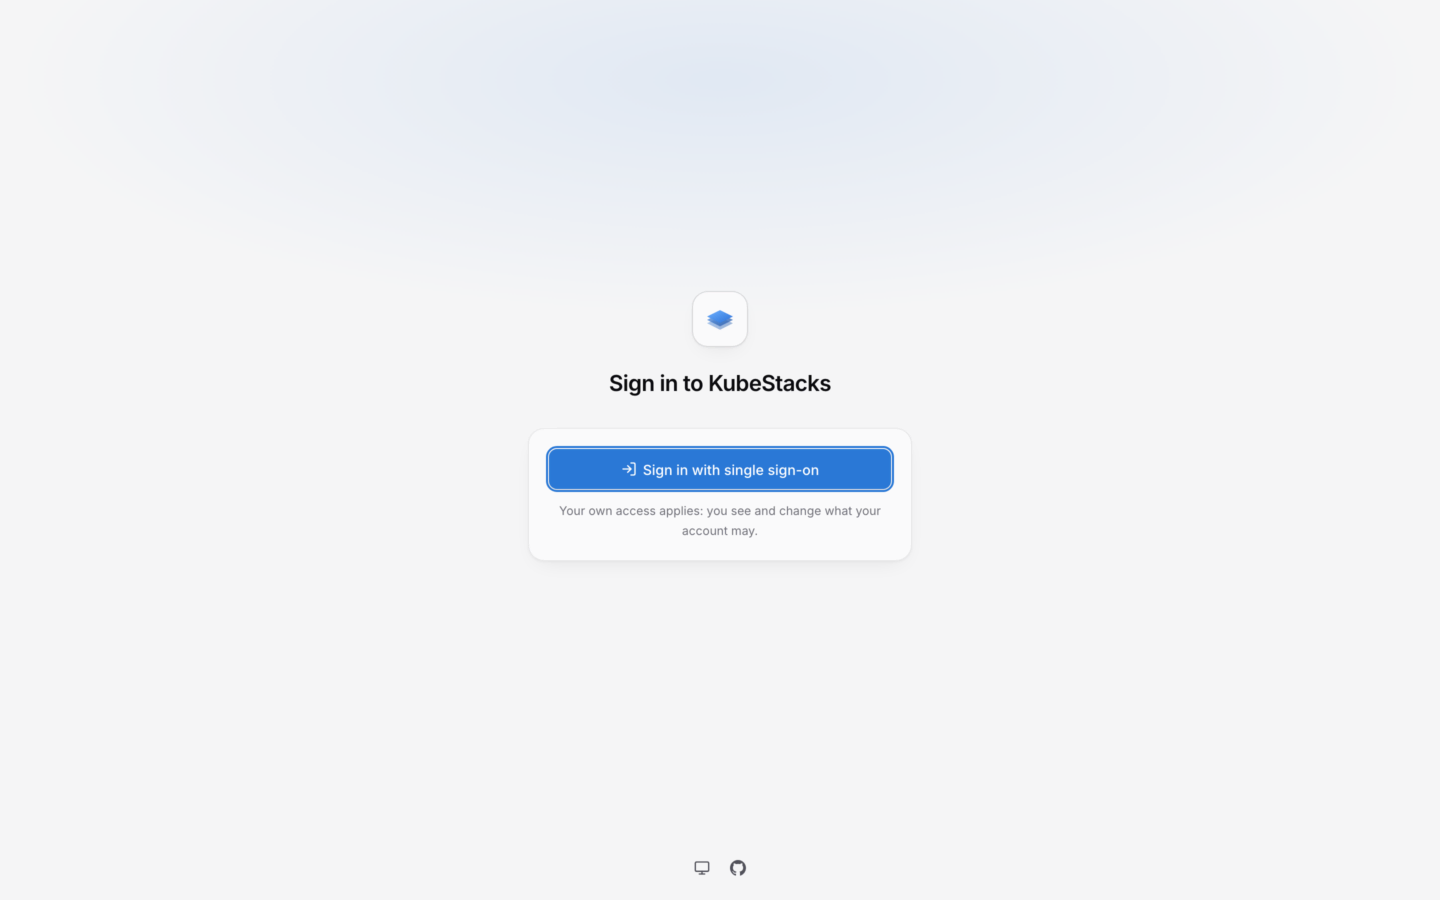
Signing in with single sign-on.
Set it up
You need KubeStacks at an address of its own (see Give KubeStacks an address): the provider sends people back there after they sign in.1
Register KubeStacks with your provider
Add KubeStacks as a web application (an OpenID Connect client using the authorization code flow), with this redirect URI:That’s your
url, then auth/callback below basePath. Note the client ID and, if the provider gives one, the client secret. KubeStacks uses PKCE, so a public client without a secret works too.Make sure the ID token carries the person’s email address and their groups. Many providers include groups only when asked: with a groups scope, or a setting on the client.2
Store the client secret
Put the secret in a Secret, under the key Or set
client-secret, in KubeStacks’ namespace:auth.oidc.clientSecret, and the chart makes that Secret for you. Leave both empty for a public client.3
Configure KubeStacks
values.yaml
issuer is the provider’s issuer URL, where /.well-known/openid-configuration is. Then upgrade the chart with these values.4
Give people roles
People are named by the ID token’s
email claim, and their groups come from its groups claim. Bind roles to those names, with the prefixes you chose:5
Sign in
Open KubeStacks and choose Sign in with Dex (or your provider’s name). After signing in at the provider, you’re back where you started, seeing what your own access allows.
Who people are
Prefixes keep your provider’s names apart from the cluster’s own. Without one, a provider group with the same name as one of your groups would get its permissions.
KubeStacks never acts as one of Kubernetes’ own users or groups (
system:…), whatever the provider says. It leaves out groups whose names start with system:, and refuses a user whose name does, with KubeStacks won’t act as this account: names starting with system: are Kubernetes’ own.
Impersonation
When KubeStacks impersonates people, the chart gives its service account permission to impersonate users and groups, cluster-wide: a ClusterRole withimpersonate on users and groups, bound to it. That’s a powerful permission. Read Security before you turn this on, and keep KubeStacks in a namespace only cluster administrators can exec into.
If you’d rather manage that RBAC yourself, set rbac.create: false and bind the service account an equivalent role.
When the API server trusts the provider
If the API server already accepts your provider’s tokens (through its--oidc-* flags, a structured authentication configuration, or a managed equivalent such as EKS’s OIDC identity providers), KubeStacks can pass each person’s own token on instead of impersonating them.
values.yaml
- No impersonation. KubeStacks’ service account needs no permissions, and the chart gives it none.
- Names come from the API server. The token is a JWT the cluster checks itself, so names, groups and prefixes come from the API server’s own settings, not KubeStacks’. Bind roles to the names the cluster sees.
- Tokens are renewed. KubeStacks renews each person’s token a minute before it expires, with the refresh token the provider gives it. Most providers give one only when
offline_accessis among the scopes. Without one, the session ends when the cluster stops accepting the token, and people sign in again. - The audit log names people directly, instead of KubeStacks’ service account acting as them.
When signing in doesn’t work
The sign-in page says what happened. The details go to KubeStacks’ log (kubectl logs --namespace kubestacks deployment/kubestacks).
Security
What impersonation means, and how to keep KubeStacks contained.
Helm values
Every sign-in setting.