

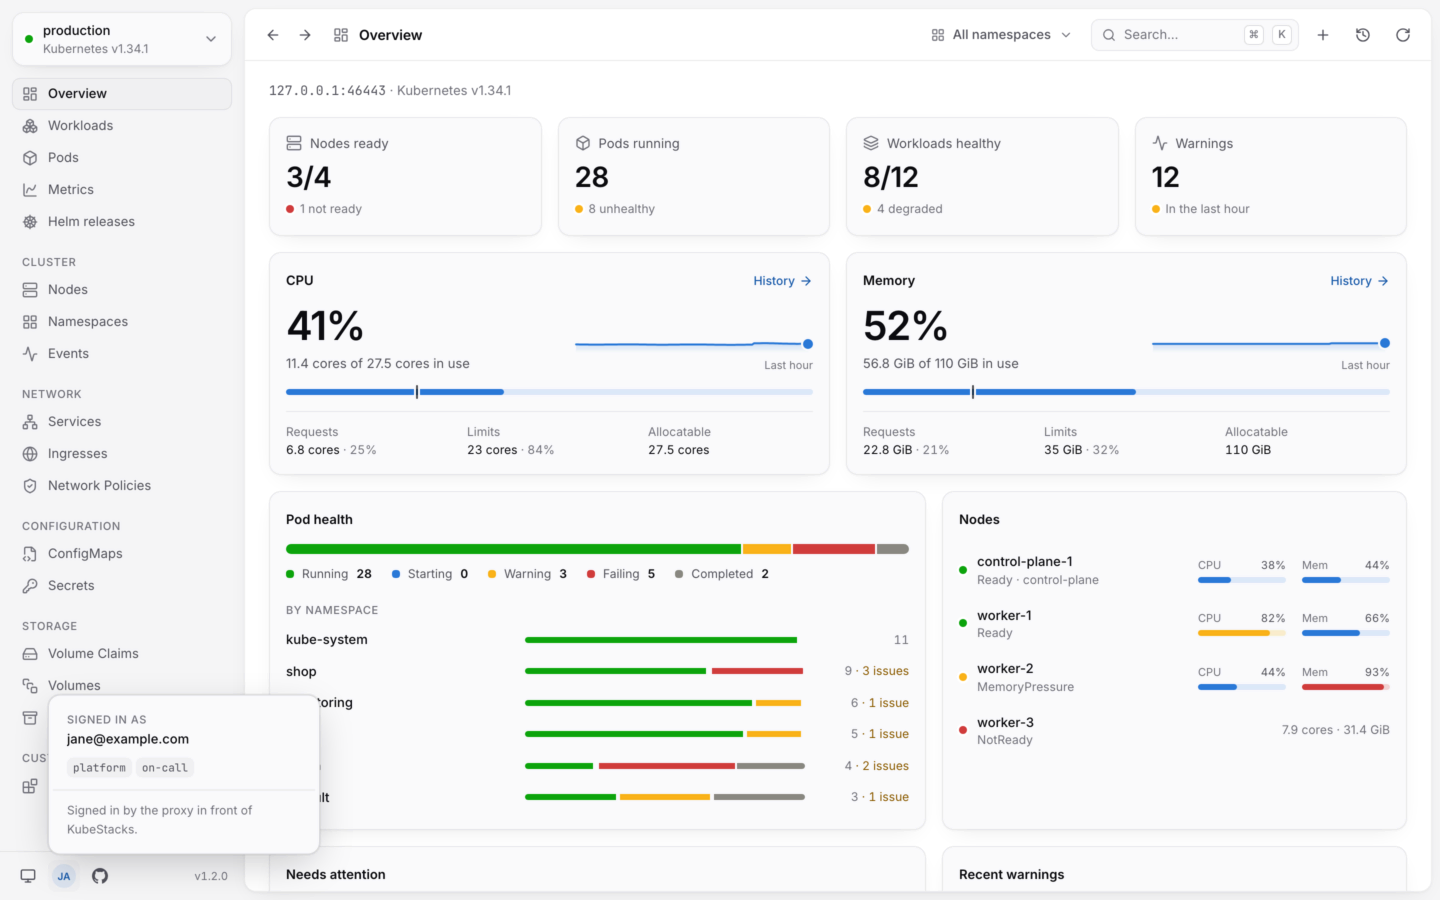
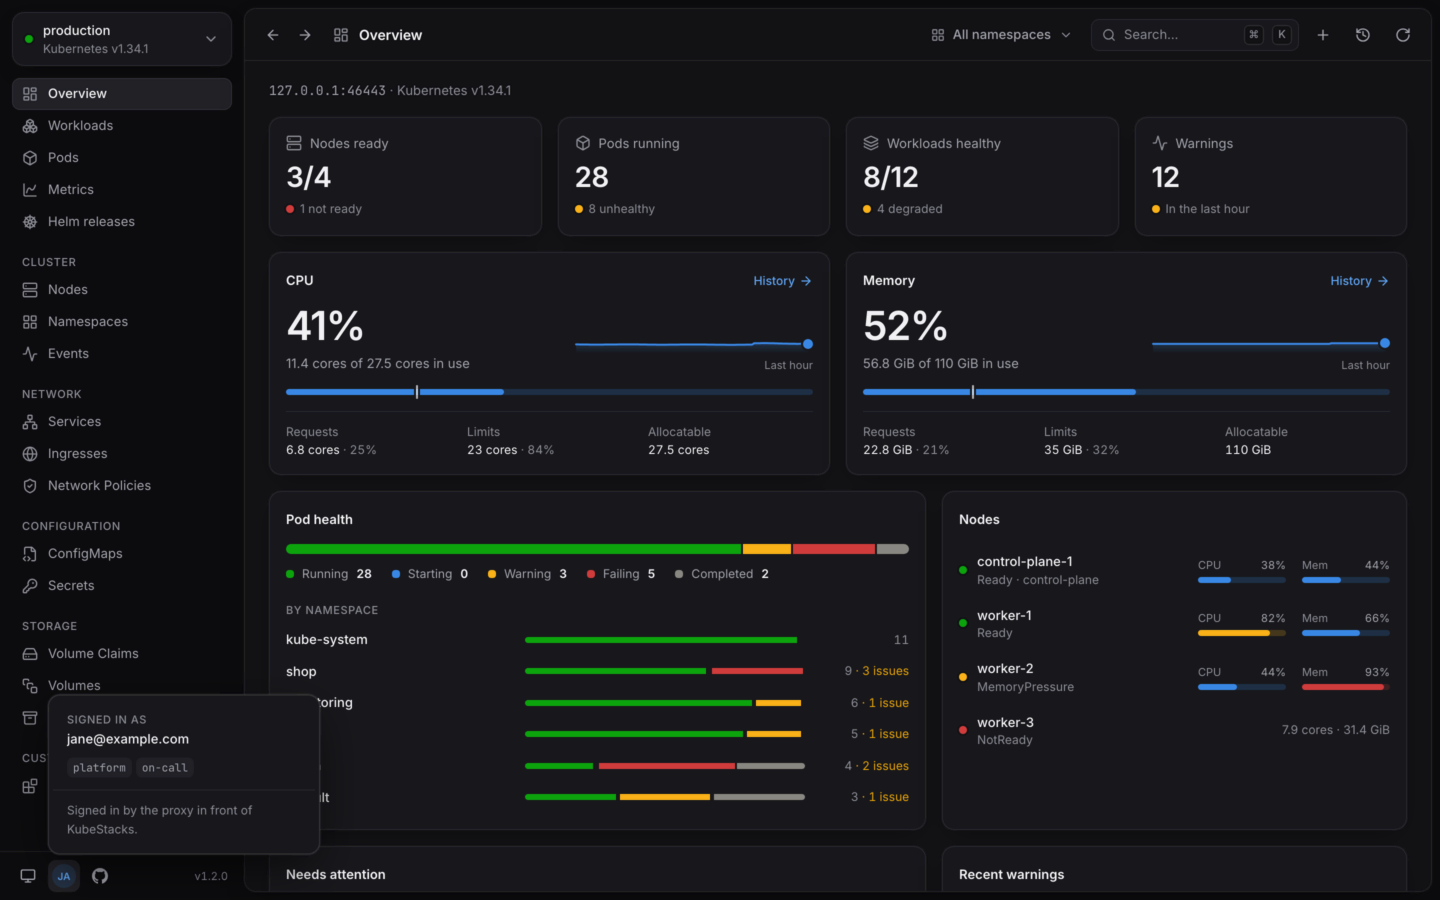
KubeStacks served from a cluster, with the menu of who's signed in open.
Before you start
- A cluster running Kubernetes 1.28 or later, for signing in with a token.
- Helm and kubectl on your computer, with access to install into a namespace.
Try it
1
Install the chart
2
Open it
Forward a port to it, and open http://localhost:8080.
3
Get a token to sign in with
KubeStacks asks for a bearer token the cluster accepts, and sends your requests with it. For a quick look, make a service account that can view everything, and a token for it that’s valid for an hour:
4
Sign in
Paste the token and choose Sign in. You’re on the cluster’s overview, with exactly the access the 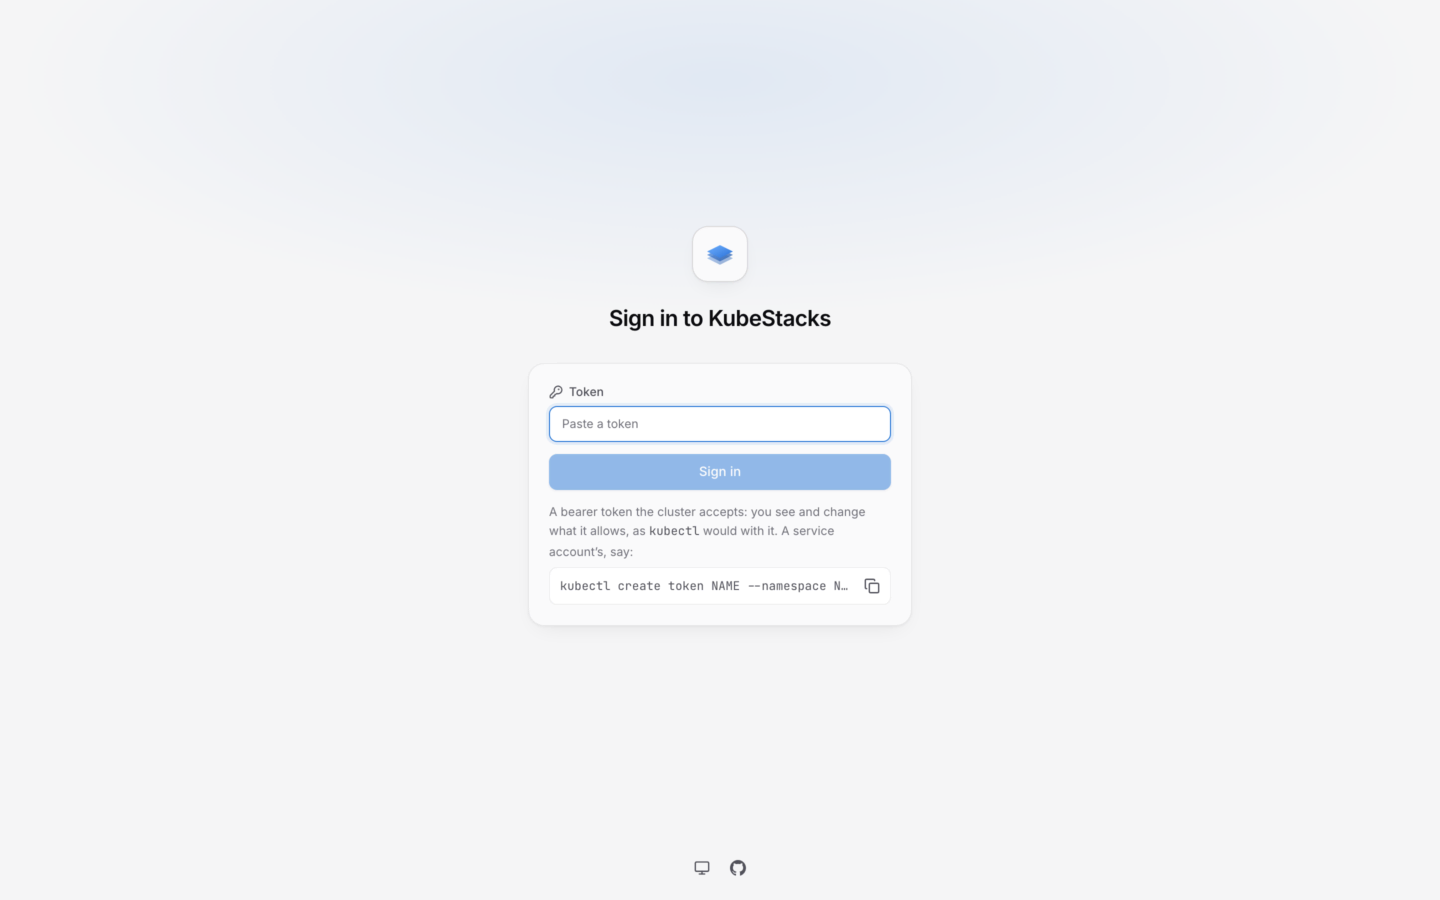
view role gives.KubeStacks never gives anyone more than their own permissions. Bind a role like
edit instead of view, and the same page offers scaling, restarts and the rest.Make it your team’s
Give it an address
Turn on the chart’s ingress, with TLS, so people open it at a URL of its own.
Single sign-on
Sign in with Okta, Entra ID, Google, Keycloak, Dex or any OpenID Connect provider.
Behind a proxy
Let oauth2-proxy or Pomerium sign people in, and pass on who they are.
Keep it safe
What to know about impersonation, sessions and read-only mode.
How it differs from the desktop app
It’s the same app, so nearly everything in these docs applies to both. Served from a cluster:- It shows one cluster, the one it runs in. There’s no list of clusters to switch between.
- There’s no port forwarding, since there’s no computer of yours to forward a port to.
- Charts come from repositories, registries or URLs, never from files on your computer.
- Preferences belong to each browser: the theme, which clusters you’ve made read-only, and where usage history comes from.
- A few shortcuts belong to the browser: ⌘N and ⌘1…6. The command palette (⌘K) has those commands.